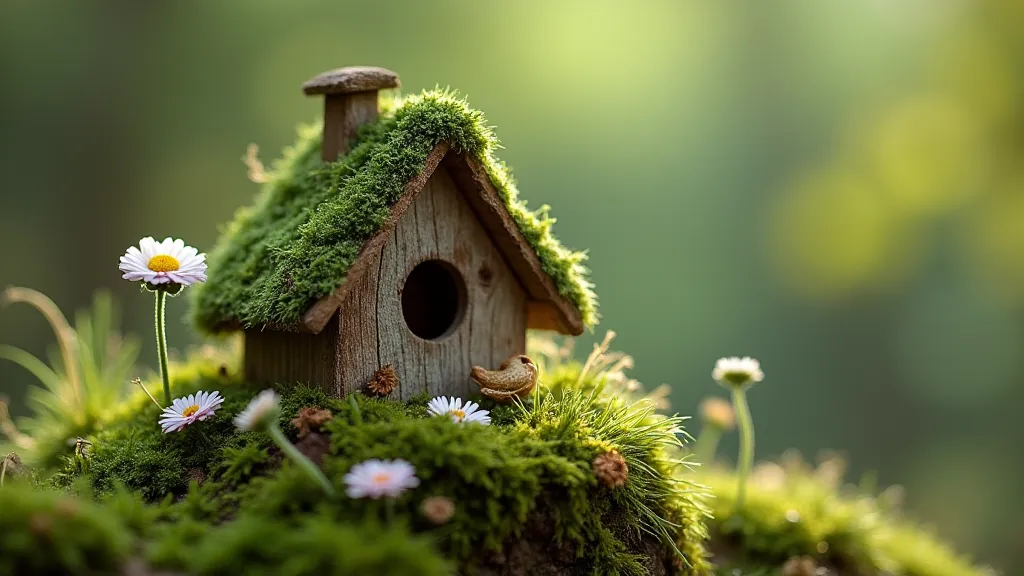
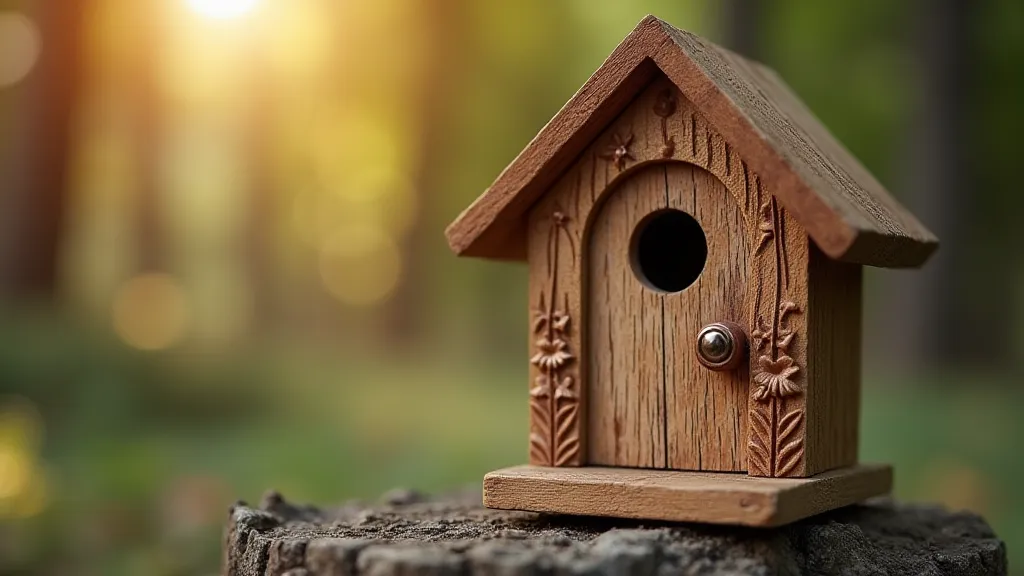
Building a Miniature Fairy Bird House: A Charming Craft Project

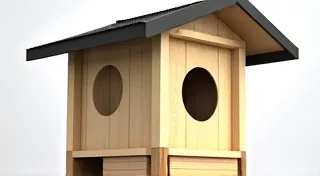
Looking for a delightful woodworking project that combines the joy of birdhouse building with a touch of whimsy? This article guides you through creating a miniature fairy bird house – a charming decoration or a unique, handmade gift. While it may not be designed for actual bird occupancy, its enchanting design will surely bring joy to any garden or windowsill. Before diving into fairy houses, it's worth considering the principles of birdhouse design – understanding ideal sizes and dimensions for various species can inform your creative choices and ensures your decorative house is built with mindful construction in mind. You can find a comprehensive guide to Bird House Dimensions: Ideal Sizes for Different Species for a deeper understanding of these principles.

Materials You’ll Need

Wood: Pine, cedar, or redwood are excellent choices (approximately 1/4" to 1/2" thickness). You'll need enough for the sides, roof, floor, and decorative elements. Wood Glue: Exterior-grade wood glue for strong, weather-resistant bonds. Small Nails or Screws: For securing the pieces together. Consider brad nails for a cleaner look. Sandpaper: Various grits (120, 220) for smoothing edges and surfaces. Non-Toxic Paint or Wood Stain: To decorate the fairy bird house. Tools: Saw (hand saw, jigsaw, or table saw), drill, hammer or screwdriver, measuring tape, pencil, clamps. Optional Decorative Elements: Twigs, moss, pebbles, miniature fairy figurines, beads, small shells. Design and Dimensions The beauty of a miniature fairy bird house lies in its customized design. While we'll outline a basic structure, feel free to let your imagination run wild. Here are suggested dimensions for a comfortable miniature size:

Base: 6" x 2.5" Front & Back Walls: 6" high, angled slightly at the top for the roof. Side Walls: 4" wide at the bottom, tapering to create a slightly angled roofline. Roof Pieces: Approximately 7" long, angled to meet in the center. Miniature birdhouse with moss and flowers Step-by-Step Instructions Cut the Wood: Using the dimensions above (or your own custom measurements), carefully cut the wood pieces for the base, front, back, sides, and roof. Precise cuts are essential for a well-fitting bird house, so take your time and double-check your measurements. Consider the tools you’re using – a table saw will offer precision, but a hand saw is perfectly acceptable for a more rustic feel. Assemble the Base: Glue and nail/screw the front, back, and side walls to the base, ensuring they are square and secure. Use clamps to hold the pieces together while the glue dries. Accuracy in this step is critical to the overall stability and aesthetic of your finished creation. Think of it like laying the foundation of a tiny home – solid and true! Create the Roof: Overlap the roof pieces slightly at the top and secure them with glue and nails/screws. The angle of the roof pieces will determine the pitch of the house. Consider the environmental factors your birdhouse will face – a steeper pitch can help shed rain and snow. A well-constructed roof is key to protecting your miniature fairy haven from the elements. Attach the Roof: Carefully position the roof onto the bird house walls and secure it with glue and nails/screws. Make sure the overhang is even on all sides. Consistent overhang not only enhances the appearance but also helps protect the walls from the elements. Add an Entrance: Drill a small, whimsical entrance hole in the front wall. The size can be customized to suit the overall design. Think about the scale of your fairy house - a larger entrance might be charming, but it’s crucial to maintain a sense of proportion. Consider the overall aesthetic – a circular entrance might feel more playful, while a more pointed archway could add a touch of elegance. Sanding & Finishing: Thoroughly sand all surfaces and edges to create a smooth finish. Apply a non-toxic wood stain or paint to enhance the birdhouse's appearance. Let it dry completely between coats. Properly sealing the wood will protect it from weather damage and extend the life of your enchanting creation. Beyond just aesthetics, a good sealant provides essential protection against moisture and sun damage. Detailed birdhouse door Embellishing Your Fairy Bird House Now comes the fun part! Let your creativity shine with decorations. The goal is to evoke a sense of wonder and magic, transforming a simple structure into a miniature world. You can draw inspiration from nature, fairytales, and your own imagination. Creating a sense of temporary sanctuary, similar to what’s explored in Ephemeral Habitats: Impermanence and the Bird House as Temporary Refuge, can add a layer of deeper meaning to your fairy birdhouse. Perhaps you want to create the illusion of a hidden doorway or a moss-covered grotto – the possibilities are endless!

Moss & Vines: Glue patches of moss to the roof and walls. Add miniature vines for a whimsical touch. Tiny Flowers: Adhere small, artificial flowers to the birdhouse. Pebble Path: Create a miniature pathway leading to the entrance using small pebbles. Fairy Figurines: Position a tiny fairy figurine on the roof or near the entrance. Twig Details: Use small twigs to create a rustic, woodland feel. Completed fairy birdhouse with decorations Beyond Decoration: A Touch of Wildlife Consideration While this project is designed as a decorative piece, it's worthwhile to briefly consider the principles of avian architecture. Understanding how birds construct their own homes – the materials they choose, the structural integrity required – can add another layer of appreciation for this craft. This understanding inspires a deeper connection to the natural world and can inform a broader appreciation for sustainable design. If you’re truly interested in providing a habitat for birds, consider exploring Build a Bluebird Nest Box: Plans & Step-by-Step Guide for a deeper dive into functional birdhouse construction. This resource offers valuable insights into the specific needs of bluebirds and how to create a safe and welcoming nesting environment.

Expanding the Theme: Creative Shelters and Meaning The creation of a miniature fairy bird house resonates with a broader theme of providing shelters and sanctuaries – a concept that extends far beyond the avian world. Thinking about birdhouses as metaphors for creative shelters highlights the human desire to create havens for both ourselves and others. The act of building, of providing a space of refuge, is deeply ingrained in our nature. This idea is beautifully articulated in The Arboreal Architect: Bird Houses as Metaphor for Creative Shelters, a piece that delves into the symbolic significance of these structures. It explores how these small-scale creations reflect our innate desire to provide safe and nurturing spaces.

Troubleshooting and Tips

Even the most experienced crafters sometimes encounter snags. Here are a few common problems and how to solve them:

  • Wood Splitting: Pre-drilling holes before nailing or screwing can prevent the wood from splitting, especially when working with hardwoods.
  • Glue Not Holding: Ensure surfaces are clean and dry before applying glue. Clamping the pieces together while the glue dries will improve the bond strength.
  • Uneven Roof: Double-check your measurements and ensure the roof pieces are cut at the correct angle. A slight adjustment can make a big difference.
Conclusion Building a miniature fairy bird house is a rewarding woodworking project that combines craftsmanship with creativity. This charming creation is sure to delight both children and adults. Enjoy the process and let your imagination guide you! This project, while designed as a decorative piece, aligns beautifully with the spirit of creating wildlife habitats, offering a touch of enchantment to any space. May your fairy birdhouse bring joy and wonder to all who behold it! Consider sharing your creations online – inspire others to embrace their creativity and connect with the magic of handmade crafts!