Victorian Bird House Project: A Detailed Guide to Elegance
Transform your garden into a haven of beauty and charm with this detailed guide to building a Victorian-style bird house. This project isn’t just about providing shelter for feathered friends; it’s about creating a miniature work of art that will enhance your outdoor space. This article provides comprehensive plans and instructions, perfect for intermediate woodworkers looking to tackle a rewarding and aesthetically pleasing DIY project.
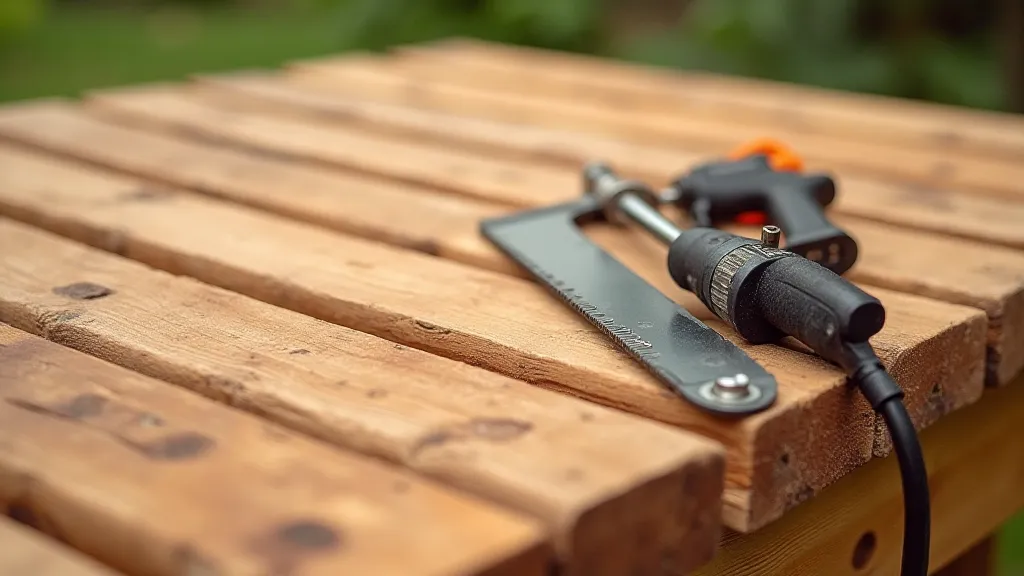
Materials and Tools
Before you begin, gather the necessary materials. This design utilizes primarily cedar wood for its weather resistance and natural beauty, but pine is a suitable (and more budget-friendly) alternative.
- Cedar or Pine Wood (1” x 6” x 8’ recommended)
- Wood Glue (exterior grade)
- Galvanized Nails or Screws (1 ½” recommended)
- Sandpaper (120, 220 grit)
- Wood Stain or Exterior Paint (optional)
- Small Diameter Dowel Rod (for perch – optional)
Tools Needed:
- Saw (Circular, Jigsaw, or Hand Saw)
- Drill with various sized bits
- Measuring Tape
- Pencil
- Clamps
- Safety Glasses
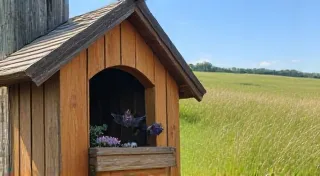
Cutting the Pieces: Detailed Plans
The Victorian bird house design incorporates intricate details that require precise cutting. Refer to the following cutting diagram for dimensions. (Please note: Diagrams would typically be visual here, but are described below for text-based instructions). All dimensions are in inches.
- Front: 8” wide x 10” high (with decorative trim – see below)
- Back: 8” wide x 12” high (extended for mounting)
- Sides (2): 6” wide x 10” high (angled top)
- Bottom: 6” wide x 5” deep
- Roof (2): 6” wide x 8” deep (angled)
- Decorative Trim: Small pieces of thin wood (approximately ¼” thick) for intricate detailing around the front and roof. The design is flexible, allowing for creative embellishments.
Cutting Tips: Ensure precise cuts to achieve the desired aesthetic. Angled cuts for the roof and sides add visual interest and contribute to the Victorian style. Take your time and double-check measurements before cutting.
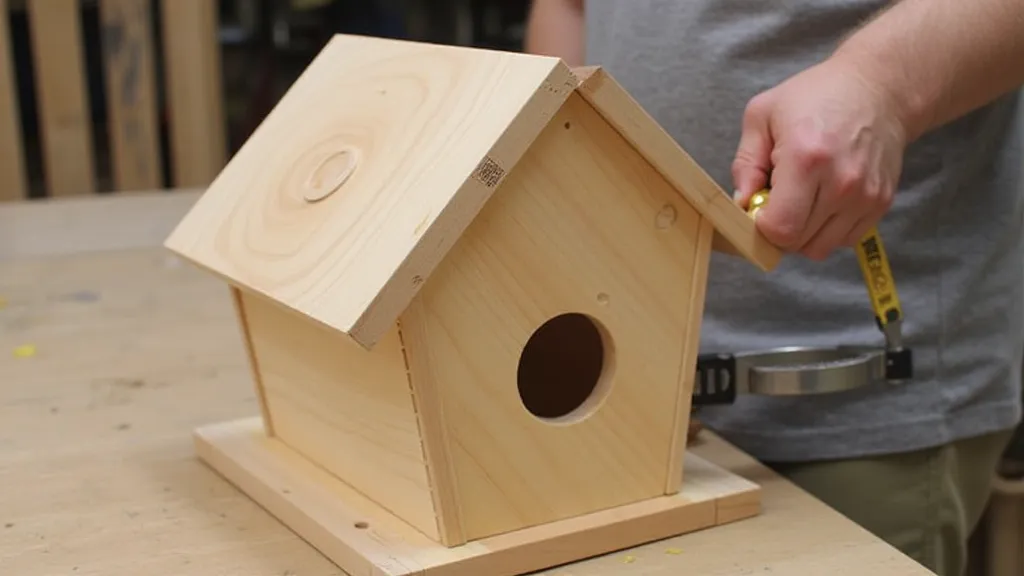
Assembly: Step-by-Step Instructions
- Assemble the Box: Attach the front, back, and side pieces to the bottom piece using wood glue and nails/screws. Ensure the corners are square. Clamps are highly recommended to hold the pieces together while the glue dries.
- Attach the Roof: Secure the roof pieces to the top of the birdhouse, ensuring a slight overhang to protect the entrance from rain. Use wood glue and nails/screws.
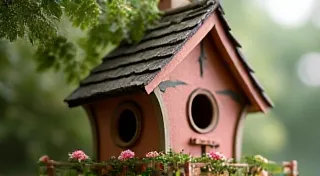
- Add Decorative Trim: This is where you can truly personalize your birdhouse! Carefully glue and nail/screw the decorative trim pieces around the front and roof. Be creative with patterns and shapes!
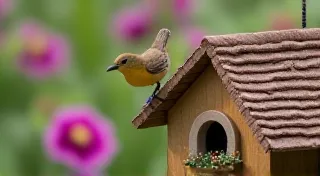
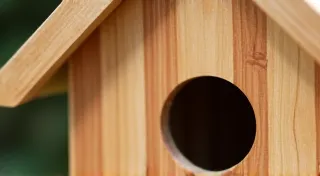
- Drill the Entrance Hole: Select an appropriate size drill bit based on the bird species you wish to attract. A 1 ½” hole is suitable for many common songbirds. Position the hole approximately 2 inches from the top of the front piece.
- Install the Perch (Optional): Drill a small hole below the entrance hole and insert a short length of dowel rod. Secure with glue.
- Sanding: Sand all surfaces smooth, paying particular attention to edges and corners.
Finishing Techniques
Protect your beautiful birdhouse and enhance its appearance with a suitable finish. Consider these options:
- Staining: A clear stain will highlight the natural beauty of the wood.
- Painting: Use an exterior-grade paint in a color that complements your garden. Light colors reflect heat and are generally preferred.
- Sealer: Apply a sealant to protect the wood from the elements.
Allow ample drying time between coats of stain, paint, or sealer.
Mounting Your Bird House
Choose a suitable location for your bird house. Consider the following:
- Height: Typically 5-10 feet above the ground.
- Location: Away from predators and direct sunlight.
- Mounting: Use the extended back piece to securely attach the bird house to a pole or tree.
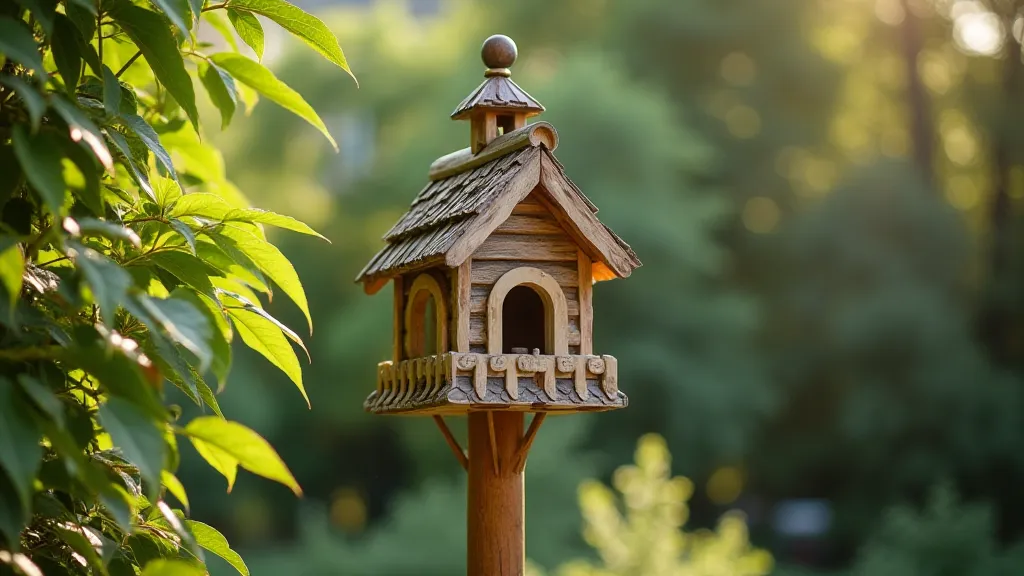
Enjoy Your Creation
Your Victorian bird house is now complete! Sit back, relax, and enjoy watching the birds move into their new, elegant home. This project not only provides a valuable habitat for wildlife but also adds a touch of Victorian charm to your outdoor space.