Building a Decorative Bird House for Your Garden
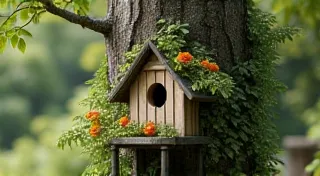
Adding a bird house to your garden isn’t just about providing shelter for feathered friends; it’s also about adding a touch of charm and personality to your outdoor space. A decorative bird house can become a focal point, enhancing the aesthetic appeal of your garden and providing endless enjoyment. This guide will walk you through designing and building a bird house that’s both functional and beautiful – a true work of woodworking art!
Design Ideas: Unleash Your Creativity
The beauty of building a decorative bird house is the freedom to let your imagination soar. Here are a few design ideas to inspire you:
- Victorian Cottage: Imagine a miniature version of a cozy cottage, complete with a pitched roof, tiny windows, and perhaps even a miniature porch.
- Log Cabin: Capture the rustic charm of a log cabin with carefully arranged wood pieces, a welcoming entrance, and maybe even a small chimney.
- Storybook House: Draw inspiration from your favorite fairy tales. A gingerbread house style, or a whimsical mushroom design can be great choices.
- Geometric Design: A modern approach using geometric shapes and clean lines can create a striking and contemporary bird house.
- Nature-Inspired: Mimic natural forms like pinecones, acorns, or even a miniature tree. Consider incorporating building a bat house alongside your bird house to create a truly wildlife-friendly haven in your garden.
Materials You’ll Need
The materials you’ll use will depend on your chosen design, but here’s a general list:
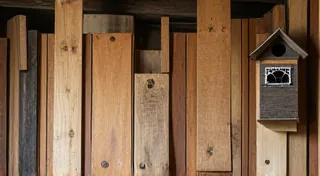
- Wood: Cedar, pine, or redwood are excellent choices for their durability and weather resistance. Reclaimed wood adds character, and can be repurposed for building bird feeders too.
- Fasteners: Exterior wood screws or nails.
- Wood Glue: Water-resistant wood glue.
- Measuring Tape: For accurate measurements.
- Saw: A handsaw or power saw for cutting wood.
- Drill: For creating holes for fasteners and the entrance.
- Sandpaper: To smooth rough edges.
- Exterior Paint or Stain (optional): To protect and beautify the bird house. Choose bird-safe options. Proper finishing is crucial; you can explore various bird house finishing techniques to ensure longevity and safety.
While specifics will vary based on your design, here's a general outline:
- Plan and Sketch: Create a detailed sketch of your bird house, including dimensions. Consider the placement of the entrance hole and how it will impact the types of birds that can use the house.
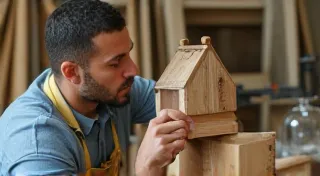
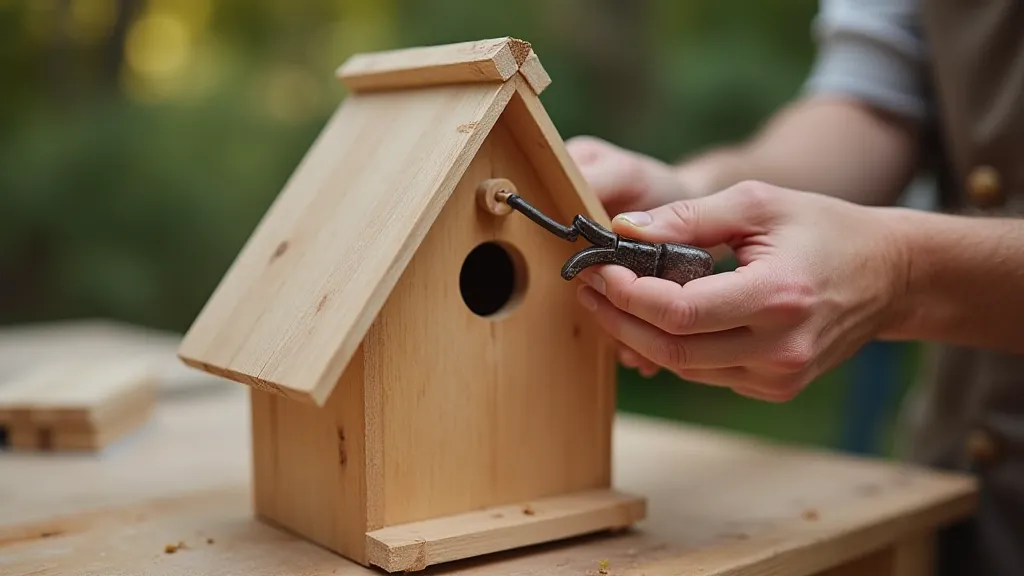
- Cut the Wood: Using your sketch as a guide, cut the wood pieces to the required sizes. Accuracy is key! Ensure your cuts are clean and precise for a professional finish.
- Assemble the Walls: Apply wood glue to the edges of the wall pieces and secure them with screws or nails. Ensure the walls are square. Use clamps to hold the pieces in place while the glue dries.
- Attach the Floor: Glue and screw or nail the floor to the walls. Make sure the floor is securely attached to prevent it from warping or detaching over time.
- Create the Roof: Construct the roof, ensuring it overhangs the walls slightly to protect from rain. Angle the roof to prevent water pooling. Consider using shingles or another decorative element to enhance the aesthetic appeal.
- Drill the Entrance Hole: The size of the entrance hole will determine what types of birds can use the house. Research appropriate sizes for your local bird species. A hole that is too large can allow predators easy access.
- Add Finishing Touches: Sand any rough edges, add decorative elements (small wooden trim, miniature shutters, etc.), and apply a bird-safe paint or stain (optional). Adding small details can transform a simple bird house into a work of art.
Important Considerations for Bird Safety
Remember, a bird house is more than just decoration; it’s a shelter for wildlife. Here are a few essential points:
- No Perches: Don't add a perch below the entrance hole. Perches allow predators easier access. This is a critical aspect of bird house design, as perches provide a convenient landing spot for predators.
- Ventilation & Drainage: Ensure adequate ventilation and drainage to prevent moisture buildup. Drill small holes in the floor. Proper ventilation prevents the build-up of humidity, which can be harmful to nesting birds.
- Natural Materials: Use natural, non-toxic materials for the bird house. Birds are sensitive to chemicals, so it's important to use materials that won't harm them.
- Placement: Consider the bird house’s location. Protect it from direct sunlight and predators. Choose a location that is sheltered from the elements and away from areas where predators can easily access it.
- Cleaning: Clean the bird house annually after nesting season. This removes old nesting material and parasites, providing a clean and healthy environment for future residents.
- Woodworking Precision: Accurate measurements and careful cuts are paramount not only for aesthetics but also for structural integrity and bird safety. Refer to woodworking tips for building bird houses for further guidance on achieving precision in your build.
Beyond the Basics: Expanding Your Bird-Friendly Garden
Building a decorative bird house is a wonderful starting point, but creating a truly bird-friendly garden involves more than just providing shelter. Consider incorporating native plants that provide food sources, such as berries and seeds. Providing a water source, such as a bird bath or small pond, is also crucial for attracting birds to your garden. Remember that consistency is key; providing a reliable source of food and water will encourage birds to return year after year.
Conclusion
Building a decorative bird house is a rewarding project that combines woodworking skills with creativity. By following these tips and letting your imagination run wild, you can create a stunning addition to your garden that will provide a safe and welcoming home for birds for years to come. Happy building!