Building a Bluebird Nest Box: Design & Placement for Success
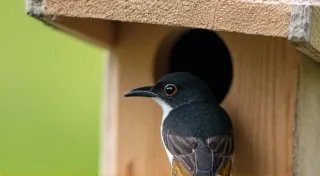
Bluebirds are a cherished symbol of spring and a welcome addition to any backyard ecosystem. Attracting these vibrant birds to your yard is a rewarding experience, and providing them with a suitable nesting box is a key step. This article will guide you through the process of building a bluebird nest box designed to meet their specific needs, ensuring a safe and comfortable home for these beautiful birds.
Why Build a Bluebird Nest Box?
Bluebird populations have faced challenges in the past, and providing suitable nesting sites is a valuable contribution to their conservation. While they are resilient birds, competition with invasive species and habitat loss can make it difficult for them to find natural nesting cavities. A well-designed and properly placed bluebird nest box significantly increases your chances of attracting them. Interestingly, the concept of providing temporary refuge for birds connects deeply with the broader understanding of ephemeral habitats – recognizing the transient nature of some ecosystems and how structures like birdhouses provide vital support. The challenges bluebirds face highlight the importance of creating welcoming habitats, and understanding the nature of those habitats, even temporarily, is critical to their success.
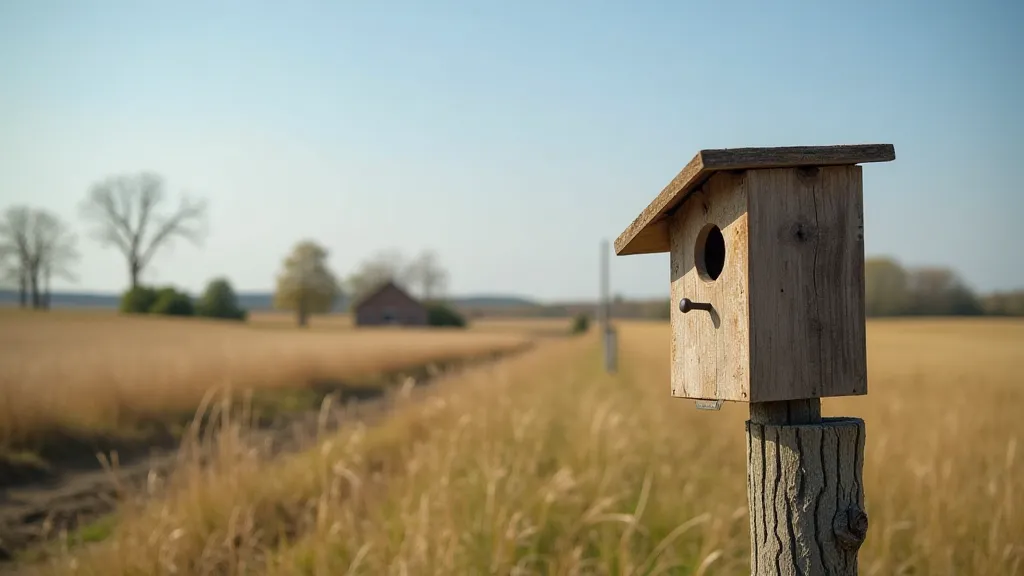
Design Considerations: What Bluebirds Need
Bluebirds are particular about their nesting requirements. Here's what to keep in mind when planning your build:
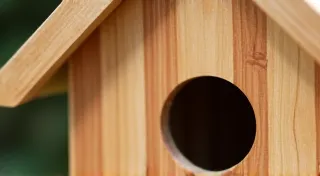
- Entrance Hole Size: Crucially important! A 1 1/2 inch diameter hole is ideal. This size allows bluebirds to enter while discouraging larger birds like starlings and House Sparrows.
- Internal Dimensions: The floor should be roughly 5x5 inches, and the box height around 8-10 inches.
- Ventilation: Small ventilation holes near the top of the box are vital for temperature regulation, especially in warmer climates.
- Drainage: Drill a few small drainage holes in the floor to prevent water accumulation.
- Rough Interior: Bluebird nestlings need to be able to climb out of the box when they fledge. Avoid smooth surfaces inside and consider lightly scoring the interior walls with a saw or adding a few small grooves.
- No Perch: Don't add a perch below the entrance hole. Perches actually *help* predators and invasive birds.
Materials List
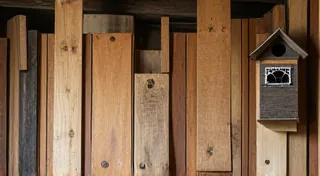
Choosing the right materials is crucial for a durable and long-lasting nest box. While pine is common, it’s worth considering the benefits of other woods, as detailed in articles about bird house materials. Longevity is key! The right choice of wood, beyond just appearance, can dramatically extend the lifespan of your creation.
- One 1" x 6" x 6' untreated pine board (Cedar is also a good choice for durability.)
- 1 1/4" exterior screws
- Exterior wood glue
- Drill
- Saw
- 1 1/2" hole saw
- Measuring tape
- Pencil
Cutting Diagram (Approximate Dimensions - Adjust based on your lumber's actual width)
(Note: It's highly recommended to sketch out your plans before cutting. These dimensions are a guideline. Actual lumber dimensions can vary slightly.) Careful planning is key to efficient use of your lumber and ensures your birdhouse is structurally sound.
- Front: 6" wide x 11" high
- Back: 6" wide x 18" high (extended length for mounting)
- Sides (2): Tapered from 6" wide x 9 1/2" high to 4" wide x 9 1/2" high
- Floor: 5" x 5"
- Roof: 7" wide x 9" long (overhang for weather protection)
Step-by-Step Instructions
- Cut the Pieces: Using the cutting diagram above, carefully cut all pieces from your pine board.
- Drill the Entrance Hole: Use a 1 1/2" hole saw to drill the entrance hole in the front piece, centered about 2 inches from the top.
- Assemble the Sides: Attach the sides to the front piece using wood glue and screws. Ensure a snug fit.
- Attach the Floor: Secure the floor piece to the assembled front and sides.
- Attach the Back: Affix the back piece, ensuring it extends above the top of the box for mounting purposes.
- Attach the Roof: Attach the roof, ensuring it overhangs the front to provide weather protection.
- Drill Ventilation and Drainage Holes: Drill a few small ventilation holes near the top of the sides and drainage holes in the floor.
Placement for Success
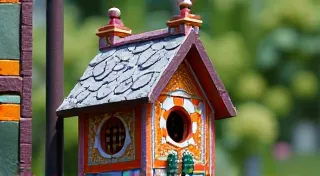
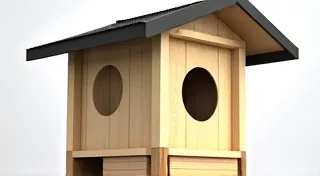
Location is just as important as design. Follow these tips for optimal placement. Beyond the basics, consider the architectural style and overall aesthetic – many homeowners enjoy incorporating bird houses into their landscaping, mimicking the elegance of a DIY bird house roof designs. Careful placement can truly enhance the appeal of your backyard.
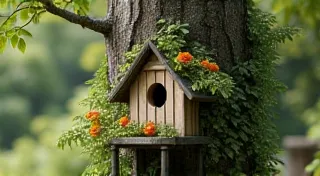
- Habitat: Bluebirds prefer open areas with scattered trees and short grass.
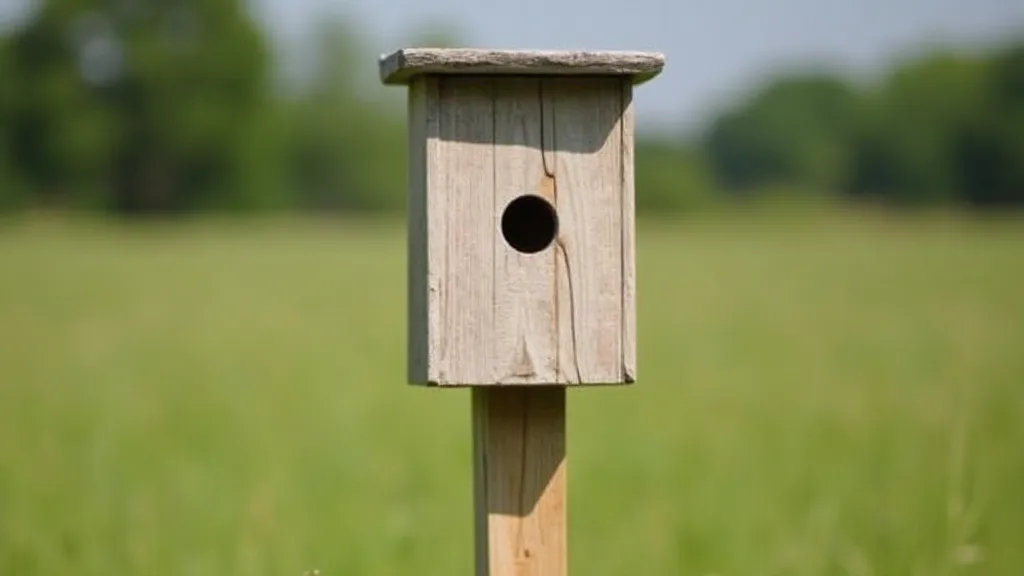
- Height: Mount the box on a pole 4-6 feet above the ground.
- Facing: Ideally, face the box away from prevailing winds and direct sunlight (east or northeast is often good).
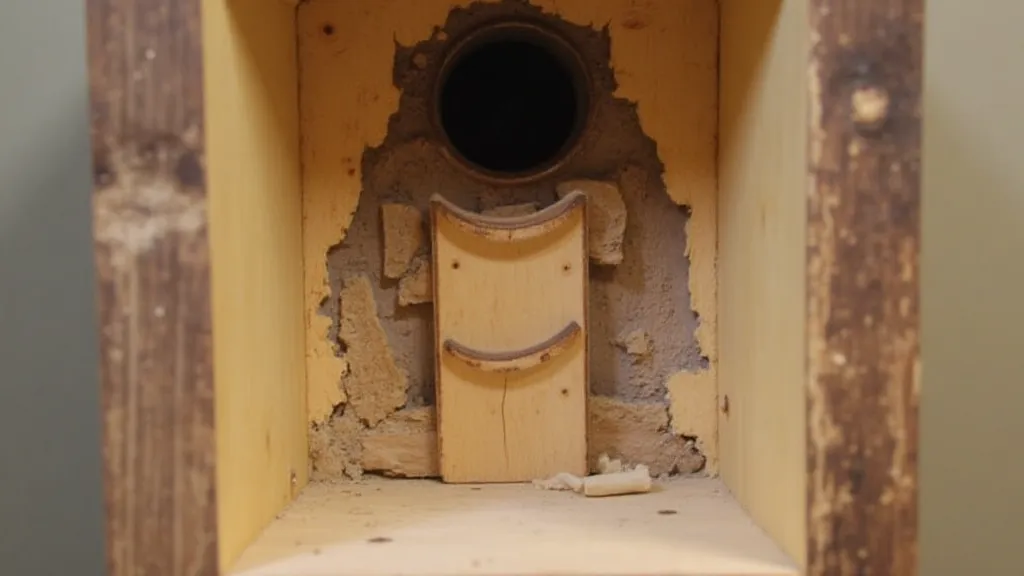
- Monitoring: Check the box periodically (but gently!) to ensure it remains clean and free of pests. Avoid disturbing nesting birds.
- Sparrow Control: House Sparrows can be a significant problem. Consider using sparrow-resistant entrance hole reducers.
- Martin Compatibility: While this design is specific to bluebirds, those interested in attracting larger cavity nesters might want to explore the construction of a DIY purple martin house, which requires different dimensions and placement considerations. The structural demands of a martin house are substantially different, underscoring the specialized needs of different bird species.
Beyond the basic plan outlined above, several nuanced details can further enhance the functionality and longevity of your bluebird nest box.
- Wood Selection: Choosing the right wood is paramount. While pine is a common and affordable option, cedar and redwood offer greater resistance to rot and insects, significantly extending the lifespan of your birdhouse. Consider these options, especially in regions with harsh weather conditions.
- Roof Design: The roof plays a critical role in protecting the nest from rain and sun. An overhanging roof not only provides shade but also deflects water away from the entrance, helping to keep the nest dry and comfortable. Consider incorporating a slight slope to further enhance drainage. Building a DIY bird house roof designs that effectively shields the nest can make a significant difference.
- Ventilation and Drainage: Proper ventilation prevents overheating during hot summer days, while adequate drainage removes moisture, reducing the risk of mold and mildew. Strategically placed ventilation holes near the roofline are ideal for airflow, while drainage holes in the floor allow rainwater to escape.
- Predator Protection: Bluebird nests are vulnerable to predators like raccoons, snakes, and cats. Consider adding a predator guard around the entrance hole to prevent access. A simple baffle or cone-shaped barrier can effectively deter these unwanted visitors.
- Finishing Touches: While a natural wood finish is generally best, you can apply a non-toxic, water-based sealant to protect the wood from the elements. Avoid using paints or stains that could be harmful to the birds.
Maintaining Your Bluebird Nest Box
Regular maintenance is essential to ensure the long-term health and safety of your bluebird nest box. Once a year, typically in late winter or early spring before the nesting season begins, clean out any old nesting material and debris. This helps to remove parasites and creates a fresh, inviting space for the birds. Check for any damage or wear and tear and make necessary repairs. A well-maintained nest box is a valuable asset to your backyard ecosystem. Proper maintenance is crucial to providing a healthy and safe environment for your bluebird residents, ensuring they return season after season.
Creating a welcoming and thriving backyard habitat for bluebirds is a rewarding experience. By following these guidelines, you can contribute to the conservation of these beautiful birds and enjoy the pleasure of observing their graceful presence in your surroundings. With a little planning and effort, you can transform your backyard into a bluebird paradise.