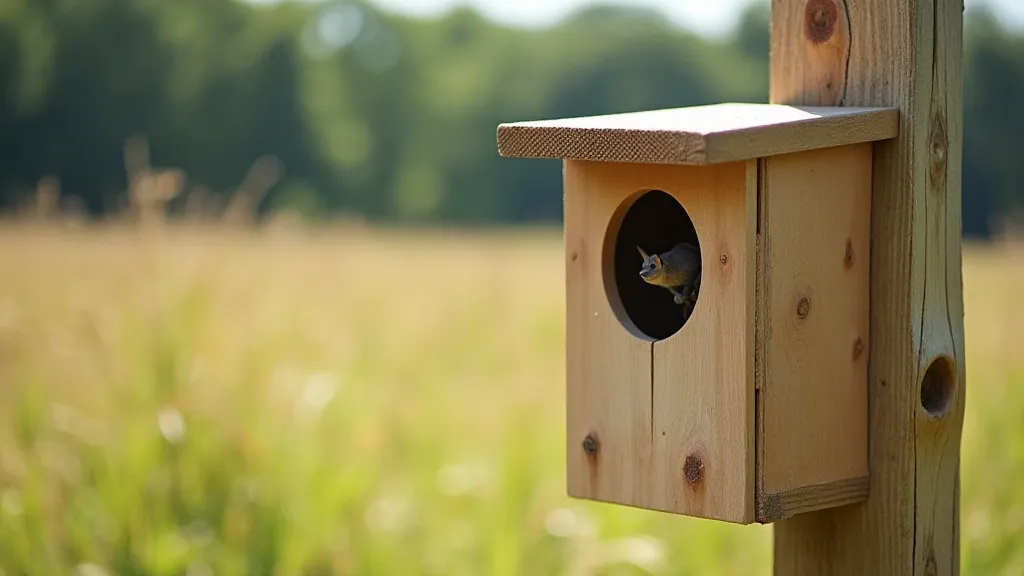
Building a Bat House: A Simple Project for Beneficial Wildlife
Bats are often misunderstood, but they are incredibly valuable to our ecosystems. They're voracious insect eaters, providing natural pest control that reduces the need for pesticides. Building a bat house is a rewarding DIY project that benefits both you and the local wildlife. This article provides easy-to-follow plans and instructions for creating a safe and attractive habitat for these beneficial creatures. Providing wildlife with safe and suitable habitats, like a bat house, aligns with the principles of conservation and creates a thriving ecosystem. If you're passionate about supporting avian wildlife as well, consider building a Design a Robin Nesting Platform: Open-Air Bird Housing for your garden.
Why Build a Bat House?
Beyond their pest-control prowess, bats contribute to pollination and seed dispersal. Many bat species are in decline due to habitat loss, so providing them with a safe roosting spot is a real conservation effort. Building a bat house is a relatively simple woodworking project that anyone can tackle, regardless of skill level. It's a chance to contribute directly to the preservation of a vital part of our environment, supporting biodiversity and creating a healthier, more balanced ecosystem. The benefits extend beyond the immediate area, contributing to the overall health of local wildlife populations.
Understanding Bat Behavior and Habitat Needs
Before diving into construction, it’s crucial to understand why bats choose specific roosting locations. Bats are incredibly sensitive to their environment. Factors like temperature, humidity, and sunlight exposure all play a critical role in their comfort and safety. They prefer dark, sheltered areas close to a reliable water source – a preference we’re going to accommodate in our bat house design and placement. They are also selective about the materials they choose, preferring rough surfaces that allow them to grip and maneuver easily.
Bat House Design Requirements
Attracting bats requires understanding their specific needs. Here's what to keep in mind when designing and building your bat house:
- Size: A single-chamber bat house is generally sufficient. Dimensions around 24 inches wide, 6 inches high, and 6 inches deep are a good starting point. Larger bat houses can accommodate larger colonies, but for most residential settings, a smaller design is ideal.
- Chambers: Multiple chambers with varying heights encourage bats of different ages and sizes to take up residence. This creates a more welcoming environment for a wider range of bat species. The variation in height also allows bats to regulate their own temperature within the house.
- Rough Interior: Bats need a rough interior surface to cling to. Do not use smooth wood! Scoring the interior surfaces with horizontal grooves before assembly is an easy solution. Consider using a rasp or coarse sandpaper to create a truly textured surface.
- Ventilation: Proper ventilation is crucial to prevent overheating. A small gap between the roof and the bat house body is essential. This ventilation system helps regulate the internal temperature, especially during warmer months.
- Color: Dark colors absorb heat, which is beneficial in cooler climates. In warmer climates, a lighter color can help regulate temperature. Using a light-colored stain or paint reflects sunlight, keeping the interior cooler.
- Drainage: Consider adding small drainage holes in the floor of the bat house. These holes help prevent water from accumulating during rain, keeping the bat house dry and comfortable.
Materials List
- One sheet of ¾-inch exterior-grade plywood (4 ft x 8 ft) – Ensure the plywood is treated for outdoor use to withstand the elements.
- Exterior wood screws (1 ½ inch) – Stainless steel screws are preferable to prevent rust.
- Wood glue (exterior grade) – This provides additional strength and weather resistance.
- Rope or wire for mounting – Galvanized wire is a durable option for secure mounting.
- Exterior wood stain or paint (optional) – Choose a color appropriate for your climate (dark for cooler regions, light for warmer regions).
- Rasp or coarse sandpaper – for texturing the interior surfaces.
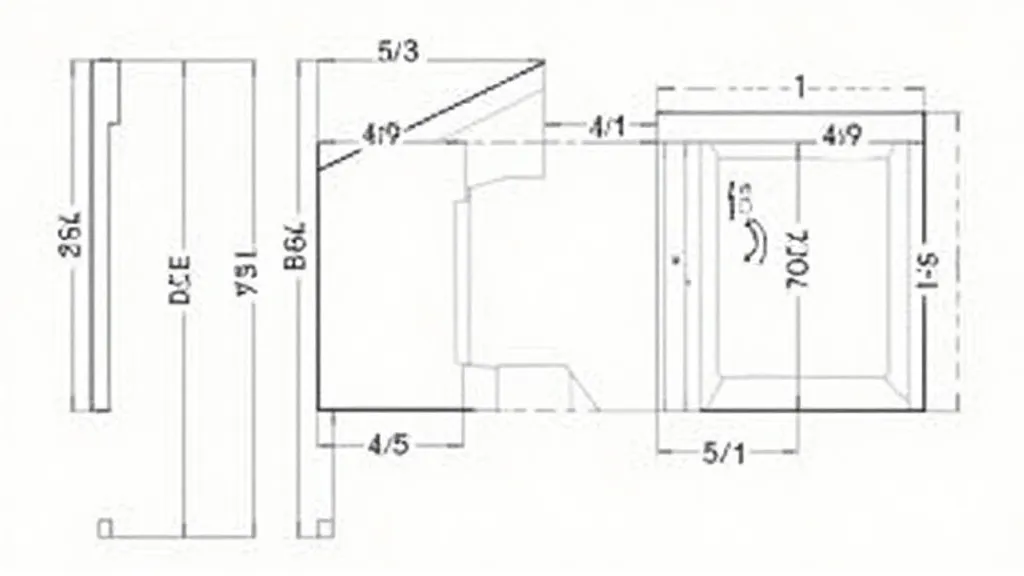
Cutting Guide
Refer to the diagram below for cutting dimensions. Remember to account for the thickness of your saw blade when cutting.
Step-by-Step Build Instructions
- Cut the Pieces: Using the cutting guide as a reference, cut all the pieces from the plywood. Precise cuts are important for a well-fitted bat house.
- Score the Interior: Score the inside of the front piece with horizontal grooves using a saw or rasp to provide a rough surface for the bats to grip. Don't be afraid to add extra texture for optimal bat comfort.
- Assemble the Body: Glue and screw the side pieces to the front and back pieces to form a rectangular box. Ensure the corners are square for structural integrity.
- Attach the Bottom: Glue and screw the bottom piece to the assembled body. Consider pre-drilling holes to prevent the wood from splitting.
- Attach the Roof: Attach the roof piece, ensuring a small gap for ventilation. This gap is critical for temperature regulation.
- Finishing (Optional): Apply an exterior-grade stain or paint to protect the wood from the elements. Allow the finish to dry completely before mounting the bat house.
Mounting Your Bat House
Proper mounting is key to attracting bats. Here are some guidelines:
- Height: Mount the bat house at least 12-15 feet off the ground. This provides a safe distance from ground predators and allows for easy flight access.
- Location: Choose a location with a clear flight path to a nearby water source (pond, stream, or bird bath). Bats need access to water, and a clear flight path minimizes energy expenditure.
- Sun Exposure: In cooler climates, a south or east-facing location will maximize sun exposure. In warmer climates, a north or east-facing location is preferable. Understanding your local climate is crucial for bat house success.
- Secure Mounting: Use sturdy rope or wire to securely mount the bat house to a tree or pole. A wobbly bat house is not appealing to bats.
- Avoid Artificial Light: Minimize exposure to artificial light sources. Bats are nocturnal creatures and prefer dark environments.
Long-Term Care and Maintenance
After installation, periodic maintenance is necessary to ensure the bat house remains a safe and attractive habitat. Once a year, typically in the late fall or early spring, inspect the bat house for any signs of damage or wear. Remove any old nesting material and debris. Ensure the ventilation gap remains clear and unobstructed. A well-maintained bat house will provide years of beneficial service.
Enjoy the Benefits!
Building a bat house is a rewarding experience that contributes to a healthier environment. Within a few weeks (or sometimes a little longer), you might start to notice bats taking up residence, providing natural pest control for your garden and yard. The return on investment is significant, as bats are voracious insect eaters and can dramatically reduce the need for chemical pesticides. Contributing to a thriving ecosystem is its own reward, however. And if you're passionate about supporting birds as well as bats, consider building a Design a Robin Nesting Platform: Open-Air Bird Housing – a great addition to any wildlife-friendly garden.