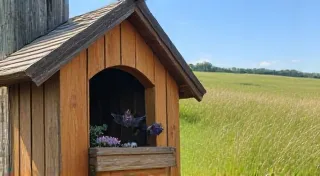
Build a Wren House: Small Space, Big Impact
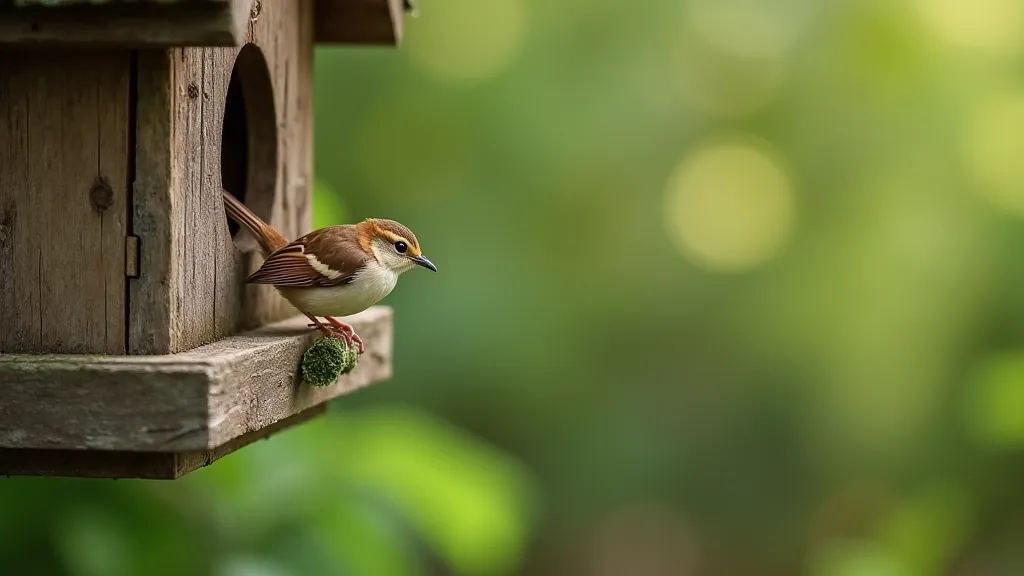
Wrens are tiny birds with big personalities! Attracting them to your yard brings a constant stream of cheerful chirps and fascinating activity. They’re also incredibly beneficial, eating insects that can otherwise become a garden pest. But wrens have specific nesting requirements. Too big a birdhouse and they’re less likely to move in. That's why building a dedicated wren house is a fantastic addition to any wildlife habitat. This article provides easy-to-follow plans and instructions to build a charming wren house that will have a wren family calling it home in no time.
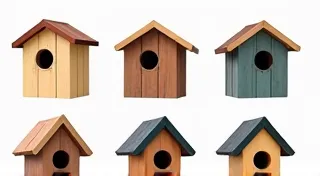
Why a Dedicated Wren House?
While wrens may occasionally nest in other birdhouses, providing a house designed specifically for them dramatically increases your chances of attracting these delightful birds. Wrens prefer small, dark, and unadorned nesting cavities. A properly sized wren house will provide that, while discouraging larger, more aggressive birds from taking over.
Materials You’ll Need
- One 1x6 board (approximately 6 feet long) – Cedar or redwood are excellent choices for weather resistance, but pine works too.
- Wood glue
- 1 ¼ inch exterior screws or nails
- Saw (hand saw or power saw)
- Drill with drill bits (including a 1 1/8 inch bit for the entrance hole)
- Measuring tape
- Pencil
- Sandpaper
Note: Always wear safety glasses and appropriate protective gear when working with power tools.
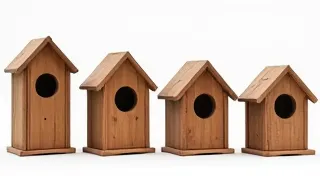
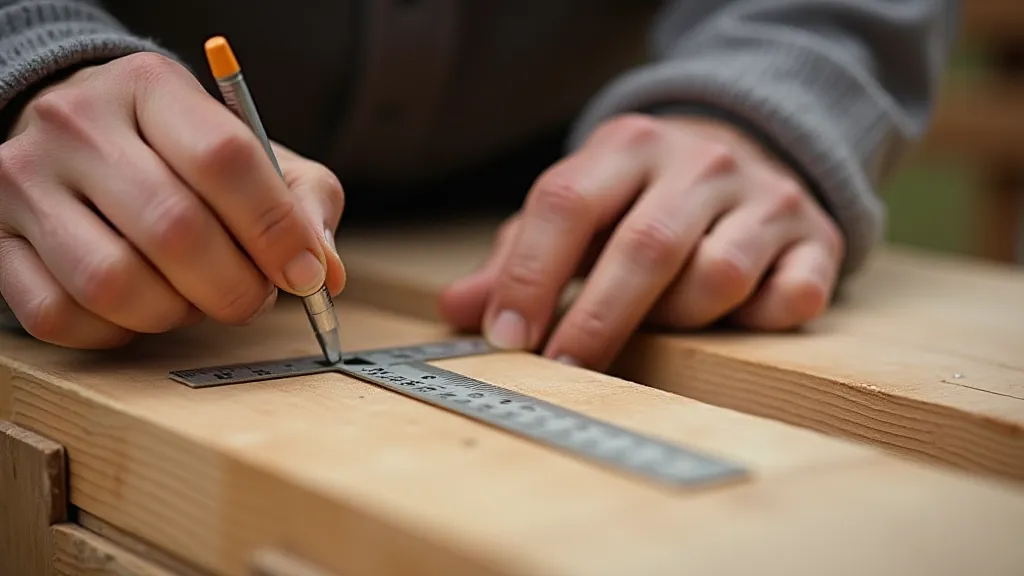
Cut List & Dimensions
Here’s a cut list for a standard wren house. Adjust as needed based on your available wood and desired size.
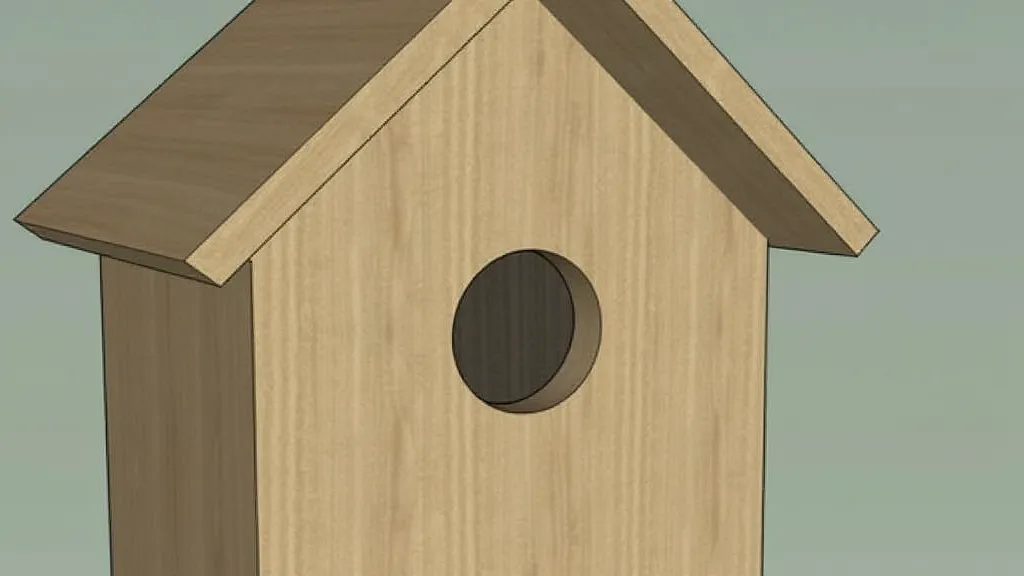
- Front: 5 ½” wide x 8” high
- Back: 5 ½” wide x 10” high (extra height allows for mounting)
- Sides (2): 5 ½” wide x 6” high (angled – see instructions below)
- Bottom: 4” wide x 4” long
- Roof (2): 4 ½” wide x 6” long
Step-by-Step Instructions
- Cut the Wood: Carefully cut all pieces according to the cut list.
- Angle the Sides: The sides need to be angled to create a sloping roof. One edge of each side piece should be cut at a 15-degree angle. This can be done using a miter saw or by carefully adjusting a hand saw.
- Drill the Entrance Hole: Using the 1 1/8 inch drill bit, drill an entrance hole in the front piece. The center of the hole should be approximately 6 inches from the bottom edge. Avoid adding a perch; wrens don’t need them and they can aid predators.
- Assemble the Box: Apply wood glue to the edges of the bottom piece and attach the front, back, and side pieces. Secure with screws or nails. Ensure the angled sides are positioned correctly to form the roof slope.
- Attach the Roof: Apply glue to the top edges of the front, back, and side pieces. Attach the two roof pieces, overlapping them slightly to create a weatherproof seal. Secure with screws or nails.
- Sand and Finish: Sand any rough edges to prevent splinters. Avoid painting or staining the inside of the birdhouse. If you choose to paint the outside, use a light-colored, non-toxic paint.
Mounting Your Wren House
Wrens prefer their nesting sites to be relatively secluded. Mount the wren house 5-10 feet off the ground, on a post, tree trunk, or building. Face the entrance away from prevailing winds and direct sunlight. Consider mounting it near shrubs or bushes, which provide cover and protection.
Enjoy the Wren Family!
Once your wren house is in place, sit back and enjoy the charming sounds and sights of these delightful birds as they make their home in your yard. Remember to clean out the birdhouse annually after the nesting season is over (late summer or early fall) to remove old nesting material and prepare it for the following year.